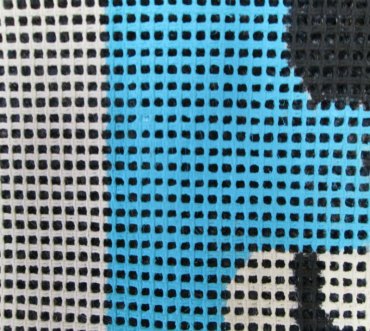
Needlepoint Canvas Painting

Needlepoint canvas painting requires a little practice before you get perfect results, but it's easy to learn.
There are thousands of needlepoint designs out there, but sometimes you just want to create your own. Learn how to paint your own design on to blank needlepoint canvas.
Needlepoint Canvas Painting Tools:
- Blank needlepoint canvas. Choose a needlepoint canvas that is right for the size and detail of the design you are transferring. Click this link if you need to purchase blank needlepoint canvas.
- Waterproof, non alcohol based, permanent marker pens, a fabric pen, or a disappearing ink pen. e.g. Fabricmate Dye Pens; Pigma Microns.
- Paints. An acrylic artist paint from your local craft store does the trick. Liquitex is a good brand that is widely available and has high pigmentation. Apple Barrel or Delta are also good options.
- Paint brushes. You will need a few different sizes. Perhaps a small pointed brush for fine detail areas, and a flat tipped brush for larger areas and straight lines. Experience and personal preference will guide you here. The brushes do not want to be soft and feathery for needlepoint canvas painting. As a general rule, a firm, acrylic brush allows for more precise paint application.
- White paper. This is to lay your needlepoint canvas on so it is easier to see what you are painting.
- Tape.
- A couple tooth picks.
- Water. For rinsing brushes.
Needlepoint Canvas Painting Instructions:
- Cut the needlepoint canvas 2 inches larger all the way around than the design you plan to create.
- Lay the canvas onto the white paper. This makes it easier to see the design as you paint. Tape the canvas down so it doesn't move.
 |
| Tape the canvas to white paper while you work. |
- Sketch the outline of a design onto your needlepoint canvas using a waterproof marker. Try to match the marker color to the color you plan to stitch in. Or use a pale gray marker. You can also trace a painting or drawing onto the canvas.
 |
| Tracing over a design is a good way to transfer it to needlepoint canvas. |
- Now you are going to color in the design using the paint colors you have selected. As you paint, think like a stitcher. Each cross-thread, or intersection in the needlepoint canvas mesh is a stitch and so each cross-thread must be designated a specific color. You are "stitch painting" not just slapping on color willy-nilly. This makes the process a little slower as you think what color each stitch should be and paint the cross-threads on the canvas mesh accordingly.
Tips.
- As you paint, the canvas holes can get clogged with paint. Use the tooth picks to push out the paint from the holes periodically.

- You may need to go back over some colors or touch up the details at the end. The paint dries very quickly and so in no time at all you will have your own needlepoint canvas painting.
- If you want to paint letters onto a canvas the easiest way is to use a Word processing program and choose a font that you like. Create the writing using Word and enlarge it to the size you want. Print it out and trace it on to the canvas.
While you're waiting for the paint to dry on your custom painted needlepoint design, find an affordable needlepoint kit to stitch or gift. We have a large collection of small needlepoint projects...

