How To Finish A Round Needlepoint Ornament As A Picture
Round needlepoint ornament designs are quick to stitch but the cost to get them professionally finished can add up. Here's a quick and easy way to finish a round needlepoint ornament as a picture.
(Or click here if you want to finish your canvas as a hanging ornament).

Supplies:
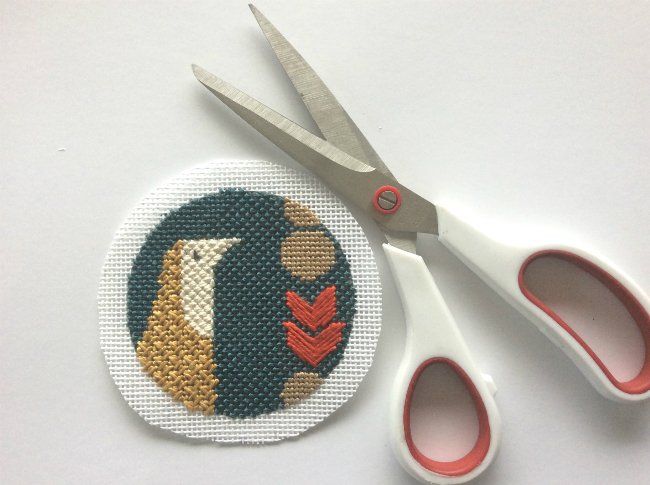
1. Trim all the way around the canvas about one half inch from the stitches.

2. Then cut notches in the canvas up to the stitches - but take care not to snip them - all the way around.

3. Steam iron the "flaps" back against the reverse side of the canvas using a gentle heat. Manipulate the flaps and ornament into a regular circle. You may need to cut more notches if your edges aren't curving enough.

4. Cut your fabric into a square at least 3" larger than the diameter of the hoop (so there is 1.5" of overlap on all sides). Secure the fabric tightly within the hoop using the top screw.

5. Use some fabric glue on the back of the stitched ornament to center the ornament within the fabric hoop. Don't press down too firmly as you want the fabric to remain taut.

6. Using a chenille needle and a thread that matches the needlepoint, hand sew the ornament onto the fabric using small over-stitches very close to the ornament edges so the stitches are concealed. Catch the fabric at the back so it is sewn against the back of the hoop (see image two below).

7. When you have stitched all the way around the ornament the stitches should have secured the extra fabric behind the hoop.

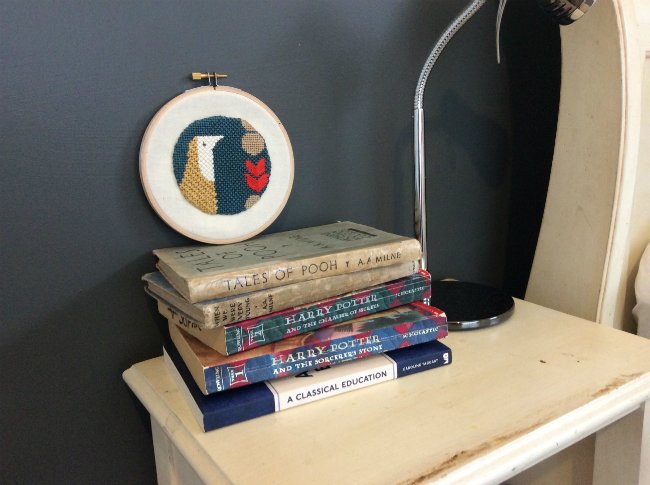
You can leave the ornament in the hoop and hang it like this for a contemporary look - the hoop provides a frame and the screw gives you something to hang it by.

Or you can remove the ornament and fabric from the outer hoop frame and finish the edges by applying some trim around it, or some brass tacks; or leave it plain. We used some fabric glue to apply this pom pom trim and made sure we left the join at the bottom where it wouldn't be seen.


(Or click here if you want to finish your canvas as a hanging ornament).

Supplies:
- Scissors
- An iron
- An embroidery hoop that is approx. 2" in diameter larger than the diameter of your stitched needlepoint
- Fabric to mount the needlepoint ornament on to.
- Fabric glue
- A needle and thread
1. Trim all the way around the canvas about one half inch from the stitches.

2. Then cut notches in the canvas up to the stitches - but take care not to snip them - all the way around.

3. Steam iron the "flaps" back against the reverse side of the canvas using a gentle heat. Manipulate the flaps and ornament into a regular circle. You may need to cut more notches if your edges aren't curving enough.

4. Cut your fabric into a square at least 3" larger than the diameter of the hoop (so there is 1.5" of overlap on all sides). Secure the fabric tightly within the hoop using the top screw.

5. Use some fabric glue on the back of the stitched ornament to center the ornament within the fabric hoop. Don't press down too firmly as you want the fabric to remain taut.

6. Using a chenille needle and a thread that matches the needlepoint, hand sew the ornament onto the fabric using small over-stitches very close to the ornament edges so the stitches are concealed. Catch the fabric at the back so it is sewn against the back of the hoop (see image two below).

7. When you have stitched all the way around the ornament the stitches should have secured the extra fabric behind the hoop.

You can leave the ornament in the hoop and hang it like this for a contemporary look - the hoop provides a frame and the screw gives you something to hang it by.

Or you can remove the ornament and fabric from the outer hoop frame and finish the edges by applying some trim around it, or some brass tacks; or leave it plain. We used some fabric glue to apply this pom pom trim and made sure we left the join at the bottom where it wouldn't be seen.


Small needlepoint designs stitch up quickly and are a good way to use up your stash of spare threads. We have a large selection of round needlepoint designs to choose from. Stitch happy!
