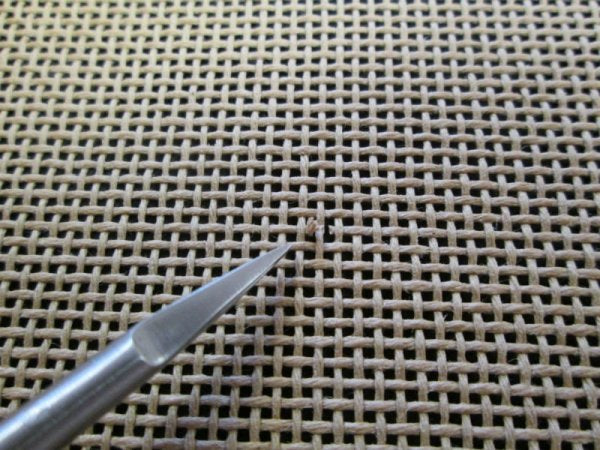
The most common time to accidentally cut through the weave of a needlepoint canvas is when taking out stitches. And this is hard to avoid if your ripping-out scissors are sharp enough to remove basketweave without having it take all week.
Here's an easy method to repair cut needlepoint canvas. It works anywhere you have dental floss!
 |
Here's a 13 mesh needlepoint canvas that has been sliced with some scissors.
|
Find some dental floss that closely matches the size of the needlepoint mesh you have - for example, you might want to use dental tape if it's a 10 or 12 mesh canvas you are repairing. (Avoid mint, unless you're after a fresh-breath canvas experience).
Thread a needle with a length of the dental floss and, starting a good five stitches before you reach the cut area, weave the floss through the canvas so that it parallels the weaving of the canvas threads. If you have stitches already on the canvas you can secure the ends of the floss under these stitches, like you would secure off your needlepoint thread.
 |
Weave the floss that has been threaded on a needle through the canvas so that it mirrors
the actual canvas weave. |
Take your floss weaving past the cut area and beyond for several stitches.
 |
| Extend the floss weaving several stitches either side of the cut area. |
Cut the floss ends so they are reasonably close to the canvas, or, if you have stitches already on the canvas that are nearby, you can secure the floss ends under these stitches.
 |
| Cut the floss close-ish to the canvas |
Then stitch the canvas using your usual thread, stitching over both the canvas thread and the floss "thread" that has been inserted to replace the cut area.
 |
We have used contrasting floss colors and thread so you can see the process, but you would
ideally use white floss on a white canvas. |


