Ten Tips For Smooth Stitches
Uneven stitches on your needlepoint canvas can be distracting. Like the pimple that appears the morning of your wedding, an off-tension stitch can become the only thing you see.
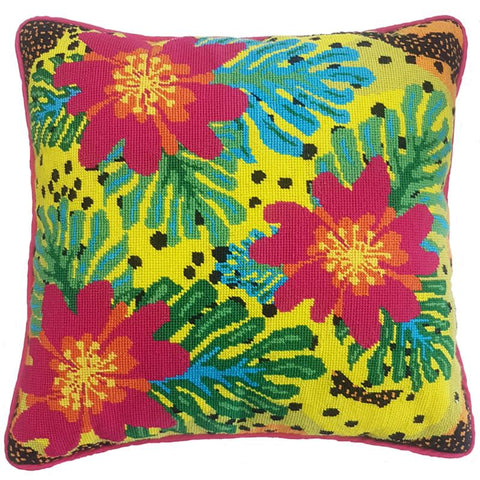
But smooth and even stitches, like the ones on this Fruit Salad needlepoint pillow kit, are within easy reach.
Read on for...
Ten Tips for Terrific Tension:
(Sorry, we couldn't help ourselves)
1. Use the correct needle size.
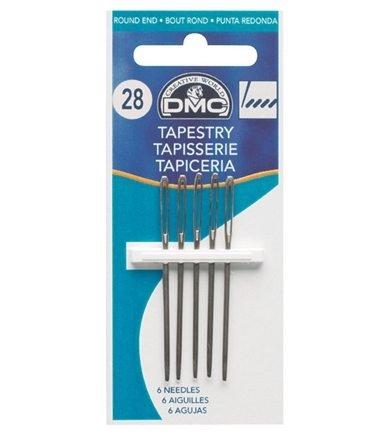
Use a needle that is an appropriate size for both the thread and canvas mesh you are stitching. If the eye of the needle is too small, the thread fibers will bunch up inside it and may not sit flat on the canvas. A slightly larger needle opens up the canvas hole when you draw it through and provides a good spot for the stitch to ‘sit’ evenly.
Here's a guide for needle sizes...
|
Size 16 needle - 8-mesh canvas Size 18 needle - 10-mesh canvas Size 20 needle - 12 - 14-mesh canvas Size 22 needle - 16 - 18-mesh canvas |
2. Shorter thread lengths are better for even needlepoint stitch tension.
Repeated pulling through the canvas wears on fibers and can make them uneven. Cut your threads about 18 inches in length. Go shorter than this for specialty fibers like metallic, velvet and sheers.
3. Take a break.
Every so often, stop stitching and let your needle dangle and unwind. Needlepoint threads twist as you stitch and if you don't let them unwind they may knot or bunch on the canvas. It's not just you that needs to unwind in the evening!
4. Use a frame.
You can stitch with your needlework held in your hand, and many people prefer this, but if you mount your canvas onto stretcher bars you will likely find it easier to get even stitch tension. Stretcher bars are inexpensive and available in a variety of sizes.
5. Make sure the fibers of your thread lay evenly alongside each other.
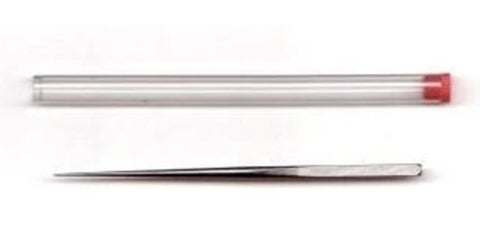
If your thread is stranded, strip the fiber and then rejoin the strands before you stitch with it. Also, using a laying tool like this ergonomically weighted steel laying tool will ensure the stitches lie down smoothly when using a stranded fiber.
6. Use a clean needle.
If your needle is dirty or tarnished it will affect the smoothness of your thread and your needlepoint stitch tension. It's a good idea to keep a pack of needles on hand, so you have a new one in the size you need, when you need it.
7. Don't split stitches.
When you bring the needle up or down through a hole that is already occupied by another stitch, try not to split (pierce) the stitch that is already sitting there. You can use your needle to wiggle out a space for the new stitch to fit into. This is yet another reason to love the basketweave stitch – the needle always comes up in a clean hole.
However, basketweave doesn’t go everywhere, and sometimes you might want/need to use a stitch that brings the needle up in an occupied hole. Slow down and make sure you create a place for it.
8. New Thread - New Row.
Starting a new thread halfway across a row can create an irregular stitch on the front. Starting only at row ends may not be practical on long rows of stitches but where you can, choose to start new threads with a new row.
9. Work stitches the same way all the time.
For example, if you use a sewing method to stitch a tent stitch, use this across the entire color area. Also, avoid changing from Continental to Basketweave (or vice versa) within a color area.
In other words, keep your stitching method consistent across a block of color.
10. Pierce the canvas at a right angle.
The angle at which your needle enters the canvas and pulls on the thread affects how the stitches sit on the canvas. Piercing the canvas with your needle perpendicular to it will give you beautiful neat stitches. If you change this angle by changing how you stitch, it will probably show up as an irregularity on the front of the canvas. This occurs particularly with lighter thread colors.
And there you have Ten Tips For Terrific Needlepoint Stitch Tension. Try these out on a new needlepoint project today!


